This guide walks you through the process of transferring data from an
original Mercedes-Benz FBS4 Gear Shift Module (DSM) to a secondhand one using Yanhua Mini ACDP2 with Module 42.
Yanhua ACDP Module 42
Features:
- Support Mercedes-Benz DSM/DSM222 (FBS4) modules virgin and data
transfer
- Compatible with both ACDP2 and ACDP1 Master basic module
Operation guide:
1.Before You Start:
- Ensure your ACDP programmer is bound and connected (check the top right of
the ACDP app).
- This example uses part number DSM (FBS4) A0002703252.
2.Main steps:
Step 1: Read Data from the Original Module
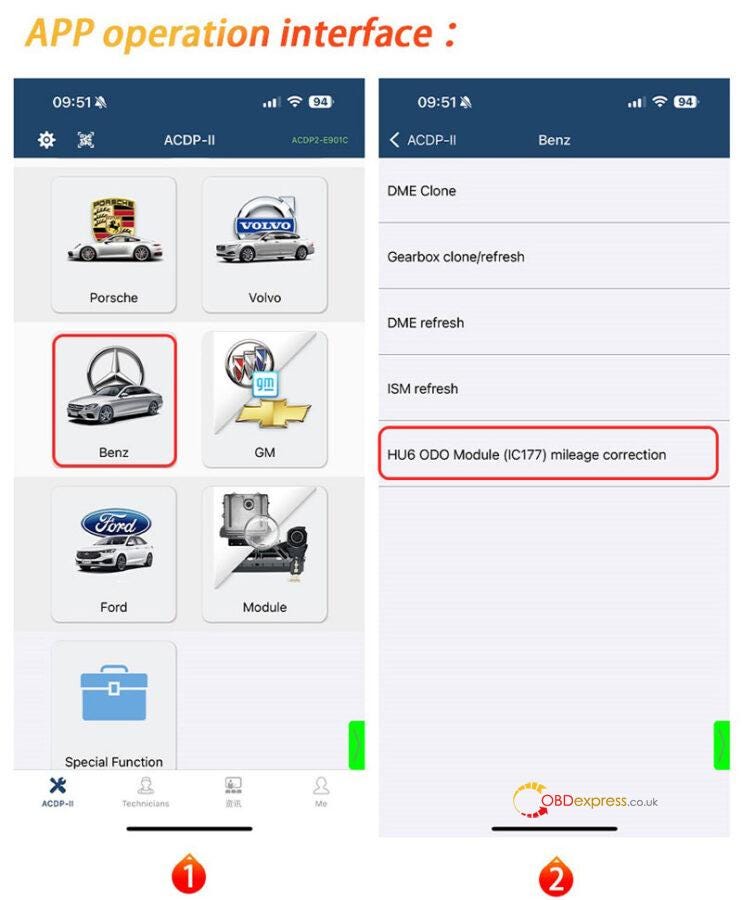
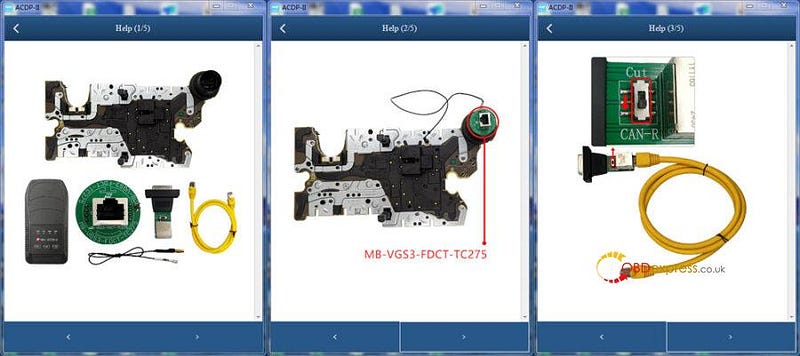
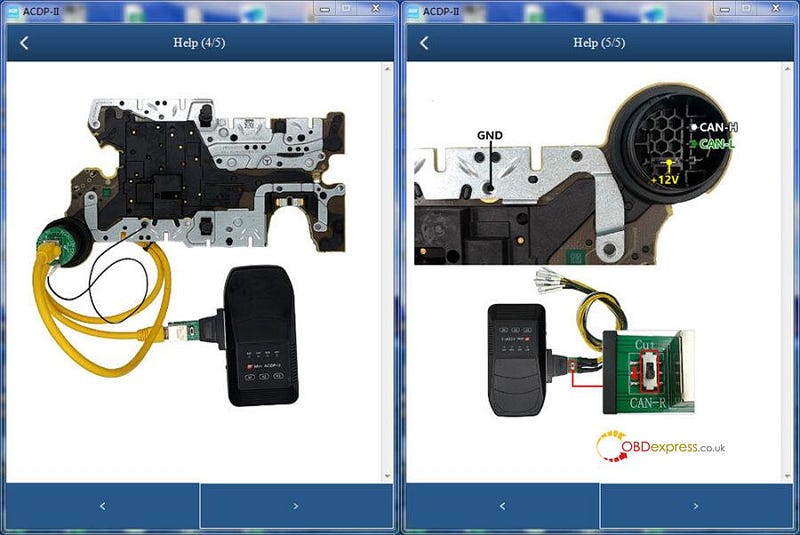
Run ACDP APP, navigate to Benz-> ISM/DSM
Refresh-> DSM (FBS4) or DSM222 (FBS4) Help.

Check the part number and connect ACDP to the original vehicle’s DSM.
- DSM (FBS4): A0002703252, A0002703352, A0002703452
- DSM222 (FBS4): A0002704252, A0002704452, A0002704652

Select DSM FBS4 > Identify Info and click Continue.
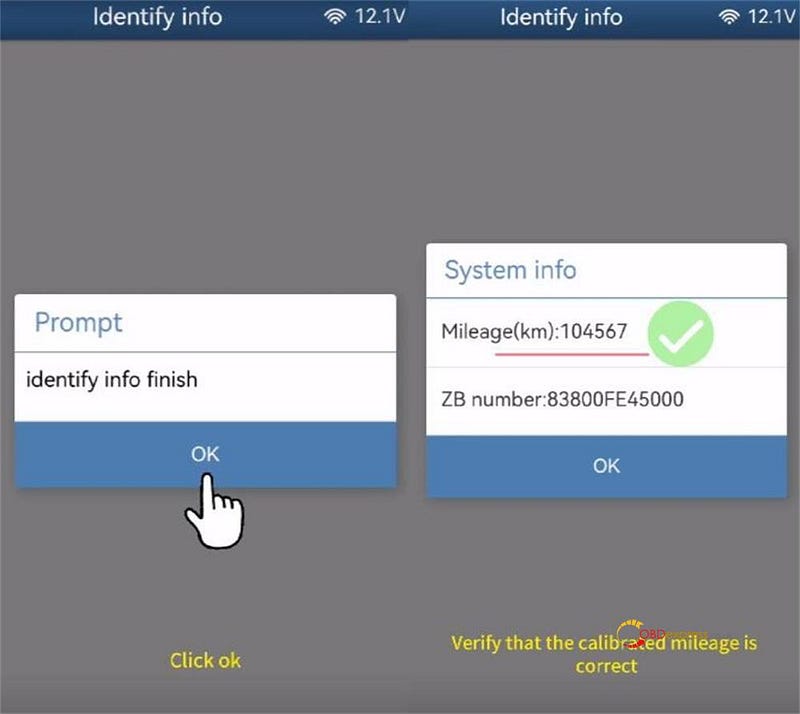
Verify the module’s identification information is correct. Take a screenshot
for your records, then click OK.


Now, click Transfer Data -> Step 1: Read Original Module
Data.
Click Continue twice to begin reading.

When prompted to save, back up the file carefully. Note the file path, date,
and time. The filename must end with ORIG.bin. Click OK.

Once the reading is complete, click OK and disconnect the ACDP from the
original module.
Step 2: Clear Data from the Second-hand Module
Connect ACDP to the second-hand DSM (it must have the
same part number).
Select Step 2: Clear Donor Module Data and click
Continue.
Verify the identified information of the second-hand module and click
Continue.

When prompted to save, back up this file as well. The filename should end
with CLR.bin. Click OK.
Click Continue to start erasing. Once finished, click OK.

Step 3: Write Data to the Second-hand Module
Select Step 3: Write Data to Donor Module and click
Continue.
Confirm that the data on the secondhand module has been successfully cleared.
Click Continue.
Select Original Data. Choose the correct file you saved in Step 1 (check the
date, time, part number, and the ORIG.bin filename).

Confirm the part data is correct and click Continue.
Click OK to save chip data, then Continue to start writing.
Once the transfer is complete, click OK.

Final Verification
Go back and click Identify Info again.
Crucially, verify that the information of the secondhand module now matches
the screenshot you took of the original module.
If everything matches, the process is successfully completed.

Key Tips for Success:
- Always Back Up: Carefully save and name both the bin and
CLR.bin files. This is your safety net.
- Double-Check Part Numbers: Ensure the original and secondhand modules have
identical part numbers.
- Verify at the End: The final identification check is essential to confirm a
successful transfer.
Alright, that’s the whole process to transfer data on a Mercedes-Benz DSM
(FBS4) module by Mini ACDP2 and Yanhua Module 42 on bench.
Video guide:
https://youtu.be/xaff7YyZilk
www.obdexpress.co.uk


